Entra / Azure SCIM Setup Guide
Providing documentation to your users on how to set up SCIM with Entra is important for a smooth integration process. Below is an example guide of what this documentation could look like.
-
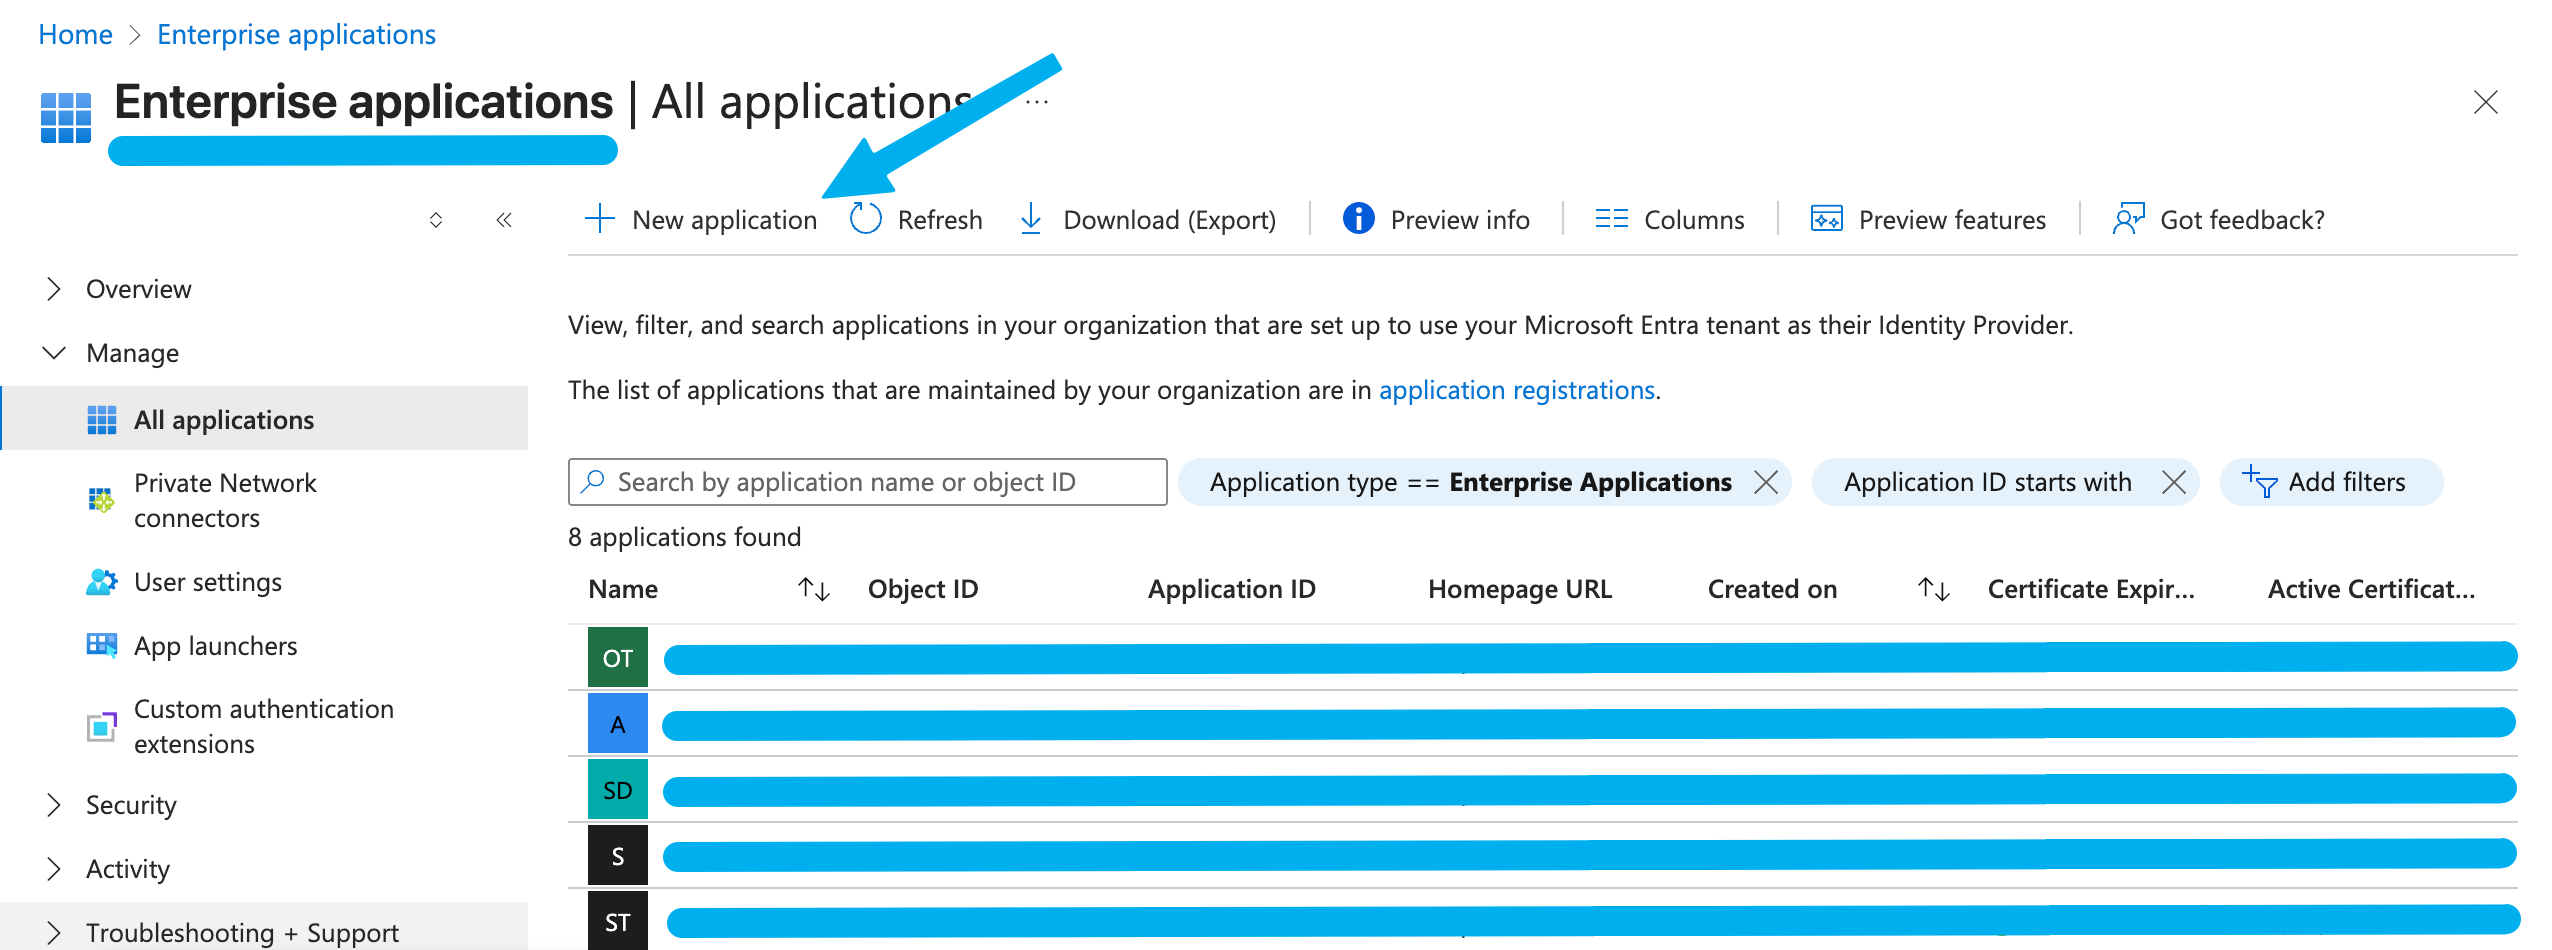
Begin by logging into your SCIM admin console and navigating to the “Enterprise Applications” section. Then, click on New application.
-
Select Create your own application and name your app. Under What are you looking to do with your application? select Integrate any other application you don’t find in the gallery (Non-gallery). Then, click Create.

-
Click on Provisioning in the sidebar. Then, click on New Configuration.
-
On the next page, copy and paste the SCIM URL and SCIM API Key from
{your application}into the Tenant URL and Secret Token fields in Entra. -
Click on Test Connection. If successful, click on Create.
-
Back in the Provisioning tab, set Provisioning Status to On and click Save.