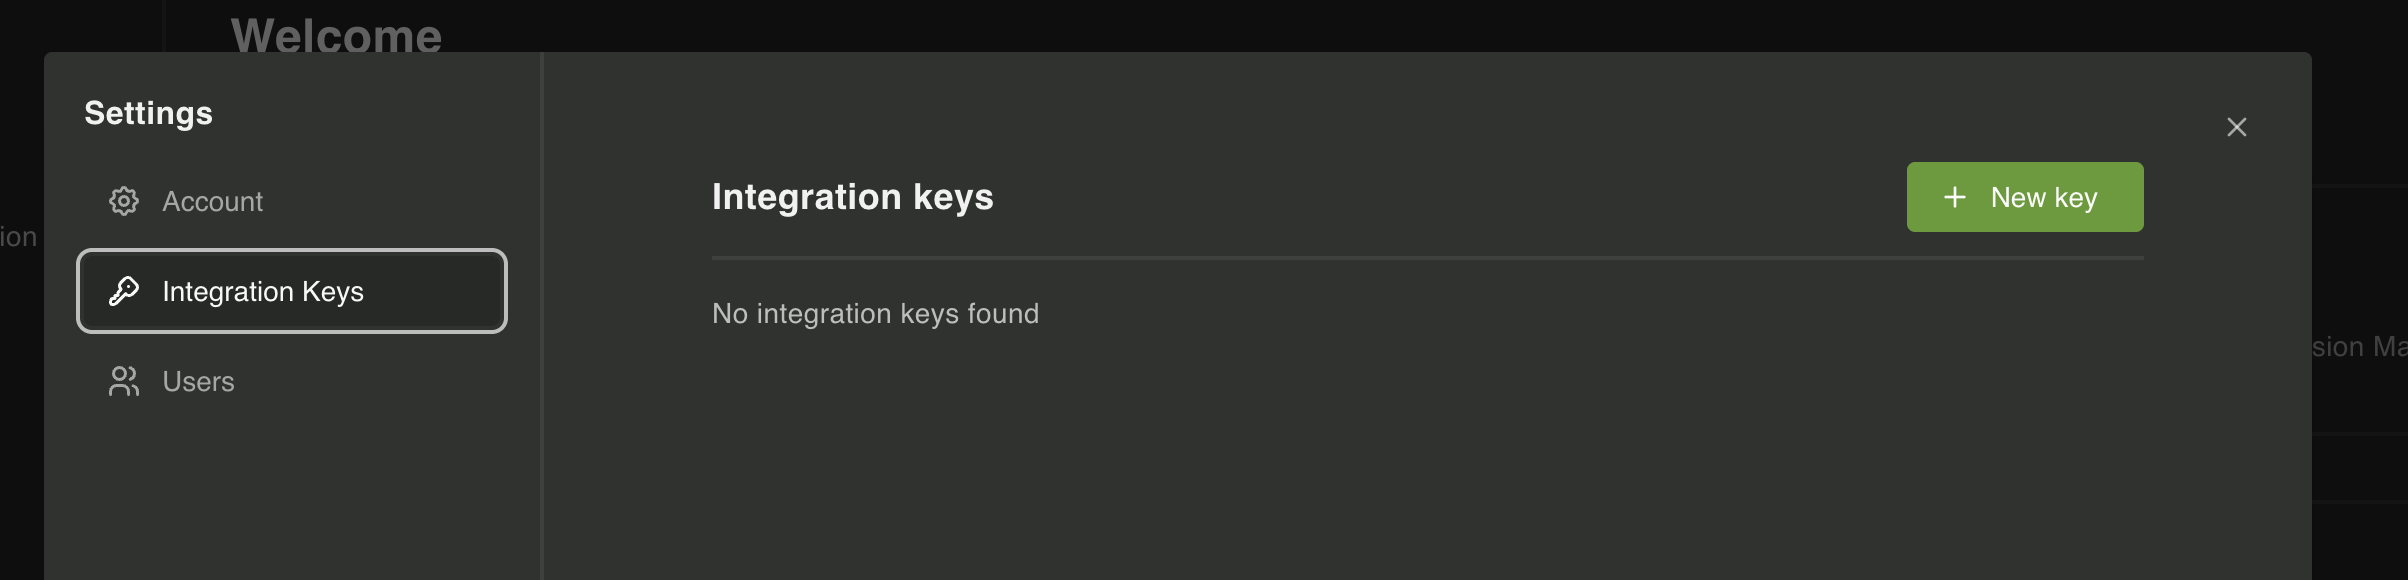
Create an integration key for your application in the PropelAuth BYO dashboard. This is done by clicking the Gear Icon in the top right corner, selecting “Manage Settings”, and then navigating to the “Integration Keys” tab. Alternatively, you can programmatically create an integration key.
After creating the key, make sure to copy the generated key as you will need it to initialize the client library in your application.
Initialize the client library in your application using the integration key you just created.
          using PropelAuth.Client;

var client = new PropelAuthClient(new PropelAuthOptions
{
    Url = "http://localhost:2884", // Default sidecar URL
    IntegrationKey = "api_..."
});
In production, you’ll likely want to use environment variables or a secrets manager for your URL and integration key instead of hardcoding them.
To ensure that the client is working correctly you can run a simple test to check if it can communicate with the sidecar. This can be done by calling the ping method from the client library.
During initial setup, you can programmatically generate an integration key by following the steps below:
Add an INITIAL_SETUP_SECRET environment variable to BYO. This must be at least 16 characters long.
Make the following request to BYO (default domain is http://localhost:2884):
This endpoint only works for the first key that you create - it's designed to be used during initial setup and not afterwards. Include a `x-setup-secret` header with the value you set for the `INITIAL_SETUP_SECRET` environment variable.
Arguments
namestringrequired
Name of the integration key.
permissionsstring / objectrequired
Can equal either "FullAccess" (string) or an object with selective permissions. If selective permissions are used, this type becomes an object with the following fields:
passkeys: Can equal either "Full", "ReadOnly", or "None".
sessions: Can equal either "Full", "ReadOnly", or "None".
scim: Can equal either "Full", "ReadOnly", or "None".
sso: Can equal either "Full", "ReadOnly", or "None".
impersonation: Can equal either "Full", "ReadOnly", or "None".
descriptionstring
Description of the integration key.
expires_atnumber
Unix timestamp for when the key should expire. If not specified, the key will never expire.
curl --location --request POST 'http://localhost:2884/api/initial_setup' \
And you’re all set! The PropelAuth BYO client is now installed and ready to use in your application. You can start integrating PropelAuth BYO features such as Passkey support, Session Management, and more.