Installing PropelAuth BYO
PropelAuth BYO has only one dependency: a Postgres database. For developing locally, we’re going to use docker compose to run both the database and the PropelAuth BYO sidecar.
-
Clone the repo with config files and docker compose setup:
Terminal window git clone git@github.com:PropelAuth/byo-config-template.gitDirectorybyo-config-template/
- .env.example
- compose.yaml
Directoryconfigs/
- sso_config.jsonc
- scim_config.jsonc
- session_config.jsonc
- … and other configs
-
Copy the
.env.examplefile to a new.envfile and update theBYO_LICENSE_KEYvariable with your PropelAuth BYO license key. You can get a license key by going to the PropelAuth Dashboard.Terminal window cp .env.example .env.env BYO_LICENSE_KEY="pa_..."INITIAL_OWNER_USERNAME="root" -
Run docker compose to start the Postgres database and PropelAuth BYO sidecar:
Terminal window docker compose -f compose.yaml up -dThis will start both the Postgres database and the PropelAuth BYO sidecar. The sidecar will automatically connect to the database and run any necessary migrations.
-
To verify everything is running correctly, navigate to
http://localhost:2884and you should see a login page: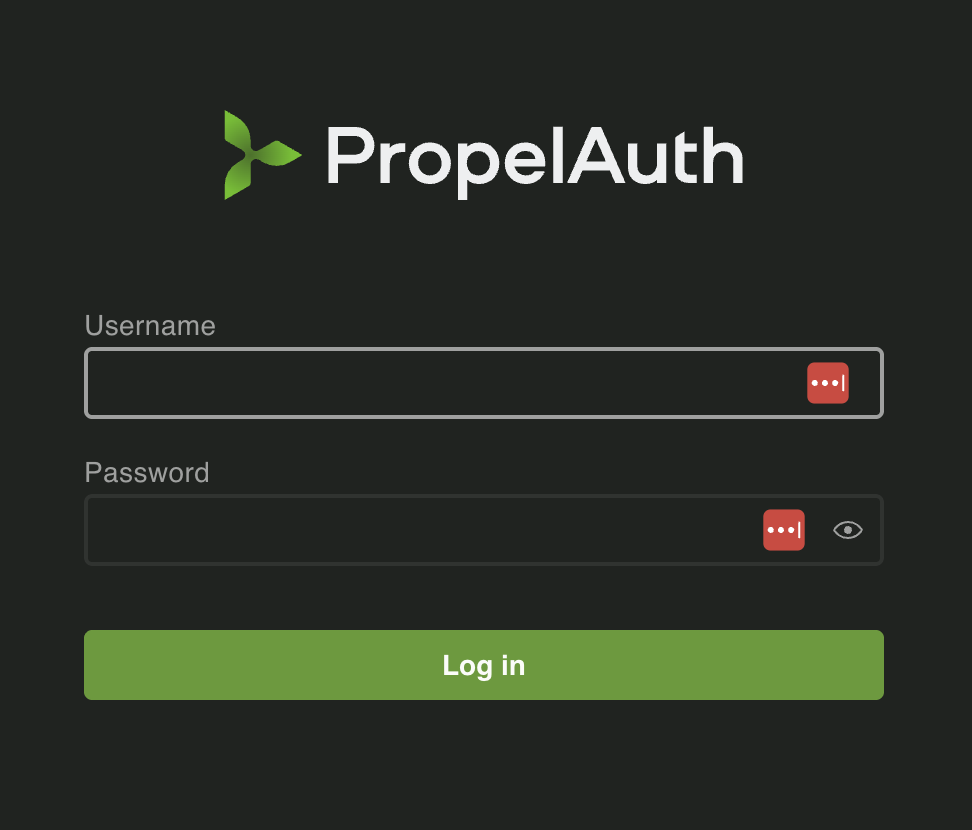
-
Log in with the
INITIAL_OWNER_USERNAME(from your .env file, default isroot) and the passwordthispasswordistemporary. You will be prompted to change your password after logging in.